 This scenario I lifted from the Osprey Publishing Duel Sherman Firefly vs Tiger with a sprinkling of Alternative Bolt Action Missions #1 NUTS from www.boltaction.net I had a group of 51st Highland Division with elements of the 7th Armored Brigade. The objective of the game was to capture and hold 4 objectives of supplies.
 The 7th Armored advance towards two objectives. A Scottish regiment with a 6pdr Anti-Tank gun give covering fire.
 An SS division moves forward, having heard that the RAF mis-dropped supplies and they are now in No Man's Land. Nebelwefer, an armored car with 75mm gun, Panzer IV, and a Tiger. An SS Panzergrenadier battalion with a Hanamog 251
  The Hanamog with a Panzer III in support move forward to catch up to the Recce.
 The first casualty is the scout car, falling a foul of grenades!
 Then a Tiger is taken out by a Firefly
 Shermans then move out to engage the Panzers
 A Panzer IV is then taken out by a 6pdr Anti-Tank gun, while a Jagtiger attempts to range in on other British tanks. The Nebelwefer then begins to lay in on the advancing British tanks.
 SS Panzergrenadiers then make a charge into one of the objective markers to capture the supplies, while engaging the Scottish infantry. The Firefly is pinned by a Tiger.
 The Hanamog ignores the jeep, to engage the Scottish regiment to it's front.
 On the British left flank, another thrust towards an objective to capture the petrol. A Churchill keeps to the rear to see how the Panzers react.
 Chaos erupts in the Scottish and German lines as both sides trade anti-tank fire. A British truck fall victim to a Panzerfaust, while an SS Panzergrenadier battalion rushes forward to capture an objective on their right flank.
 This then results in a prolonged firefight over control over the centre of the battlefield. Objectives are bitterly fought over.
 A Panzer III falls victim to the Firefly, while it searches for another prey.
 However, it is then taken out by the stalking Tiger.
 An RAF observer plane flies over the battlefield to ascertain what the situation is. With many of the British AFVs taken out, there is much radio silence.
  The Germans perform a pincer movement to capture the objective in the centre.
 The Germans also hit the Scottish right flank, but are finding the Highlanders tough to push off.
 The Nebelwefer silences the 6pdr Anti-Tank gun, and also destroys the Universal Carrier as its tow, and also inflicting horrendous casualties on the Highlanders.
  The Panzers reach the petrol! Is Victory in sight for the Germans?
 A sole British officer, seeing how desperate the situation is, calls in an artillery strike right on his own position, hoping to destroy the Panzers, or the fuel.
 The resulting barrage does indeed take out a Tiger, a Jagpanzer but also results in the officer receiving a posthumous VC for his actions.
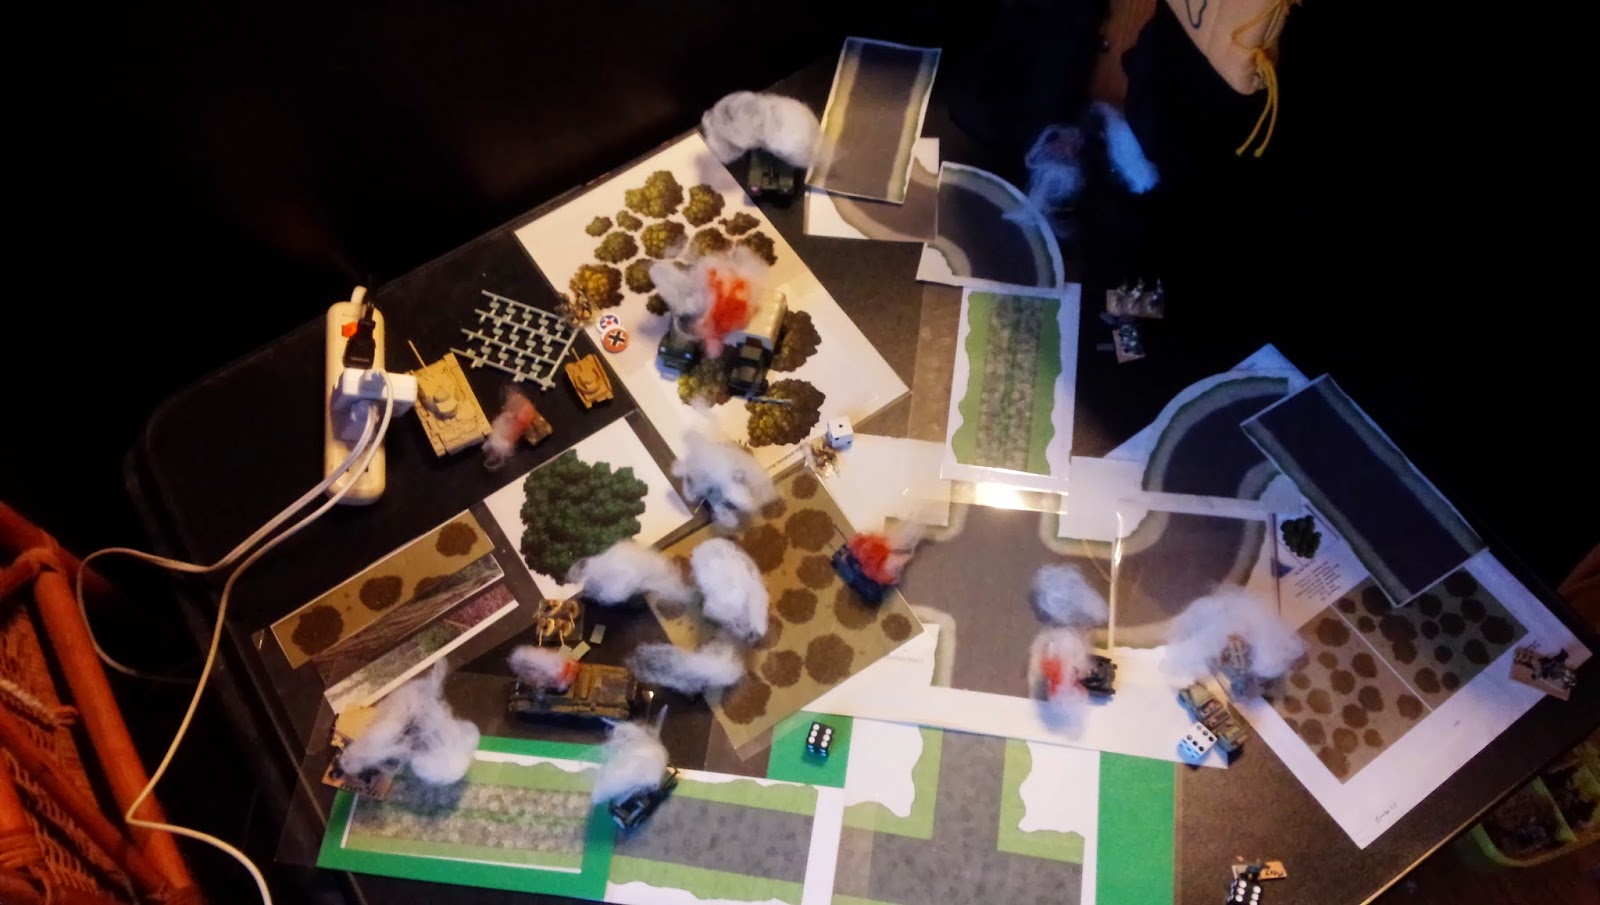 A final RAF flyover shows the fule depot in German hands, however, the Highlanders maintained control of 3 of the objective markers, meaning they win the Battle.
This was a fun action to play, and having read some Bolt Action rules on Anti-tank guns more closely, the guns did a better job than usual.
I hope to equip my Anti-Tank batteries with Achilles and to get some additional Fireflys. The Germans, I will look into getting them some Panthers and some 88mm guns!
No comments:
Post a Comment