 The 51st Highland Division with elements of the 79th Armored Division begin their attack.
 The German positons are a blockhouse and a section of trenches.
 The Highland Division has the unfortunate situation of attacking a well dug in and supported German position.
 German armor waits in the trees astride the autobhan.
 The Autobahn intersection holds a Panzer regiment.
 The Germans wait for the Highlanders attack.
 The German Whirlwind takes out the Duwk but is in turn taken out by a Middlesex mortar.
 Highlanders take cover behind a blazing Buffalo.
 Highlanders take the forward trenches
 however, the Germans counter attack.
 The bunker is a hard nut to crack, sporting a Panzer hull with a gun turret.
 The Germans retake some trenches
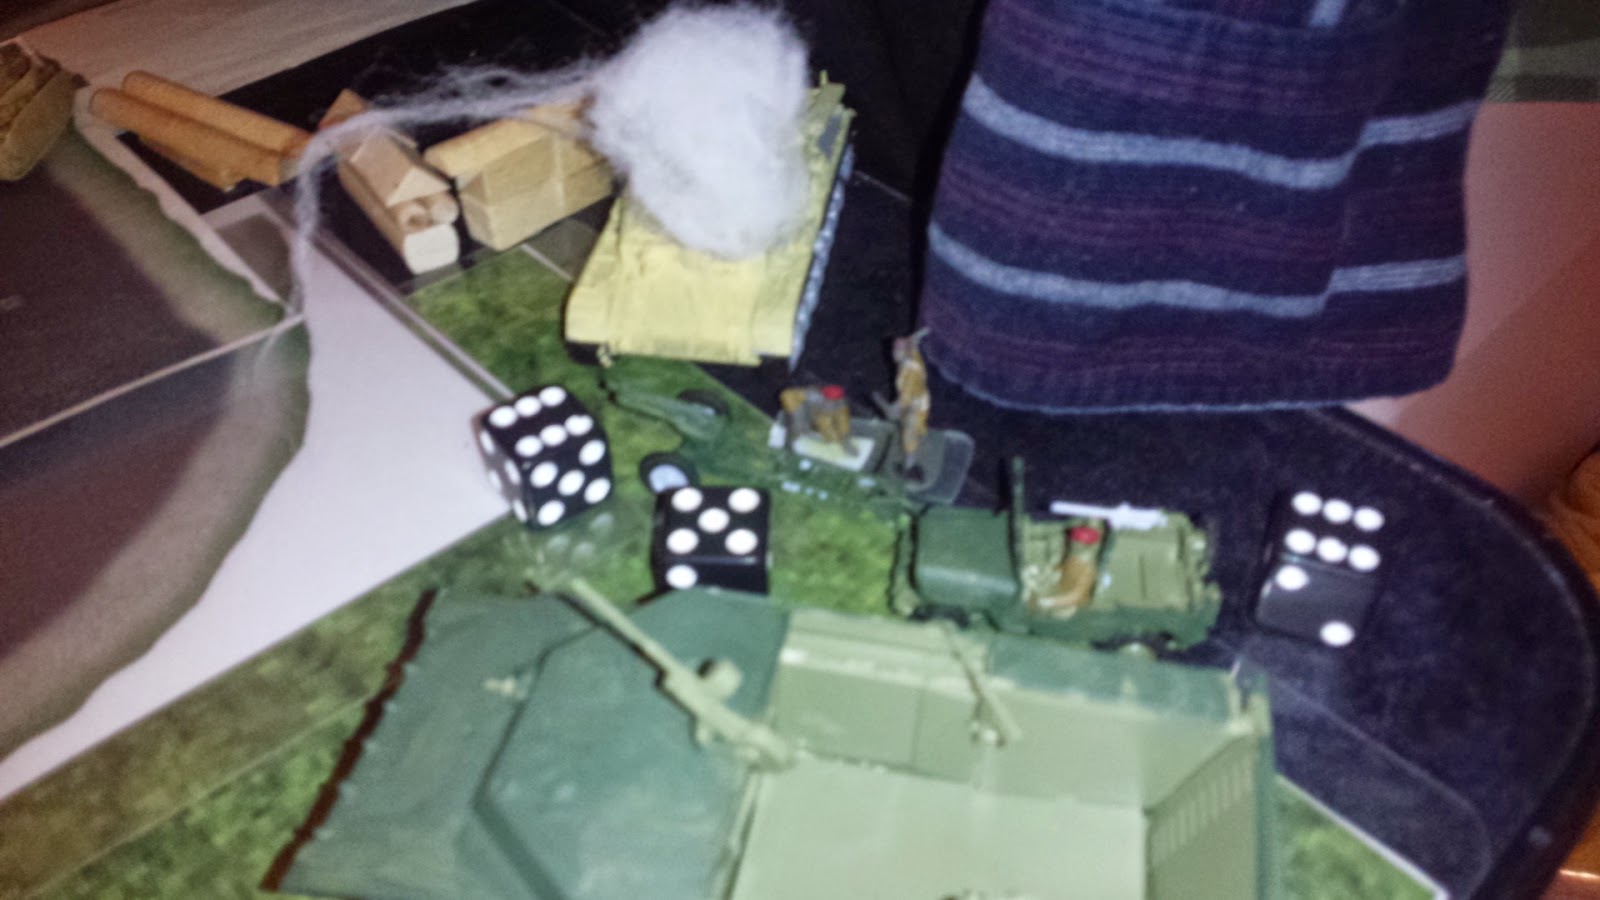 the Buffalo is imobilised, while a 1st Air Landing RA gun attempts to provide fire support
 taking out the German armored car.
 and a Hanamog.
 with the Buffalo unable to bring over more troops, the British assault fails
 Germans move forward to capture the unlucky Highlanders.
No comments:
Post a Comment